Setting Up
Installation
It is easy to install or update the extension using the Manage website. But it is also possible to manually unzip the installation package and copy-paste the files to their target location in the site folder.
Files
WebPages\bin\Extensions\ImageConsent.dll
WebPages\ROI360\Image Consent\Interface.ashx
WebPages\ROI360\Image Consent\UserJDocumentCustomize.htm
WebPages\ROI360\Image Consent\AdminGlobalLibrary.htm
Extension Configuration
After the installation, please use the page AdminLogin.aspx to log in to the site as admin. Follow the links Administration > Extensions. Find the item Image Consent, click to display the extension configuration page:
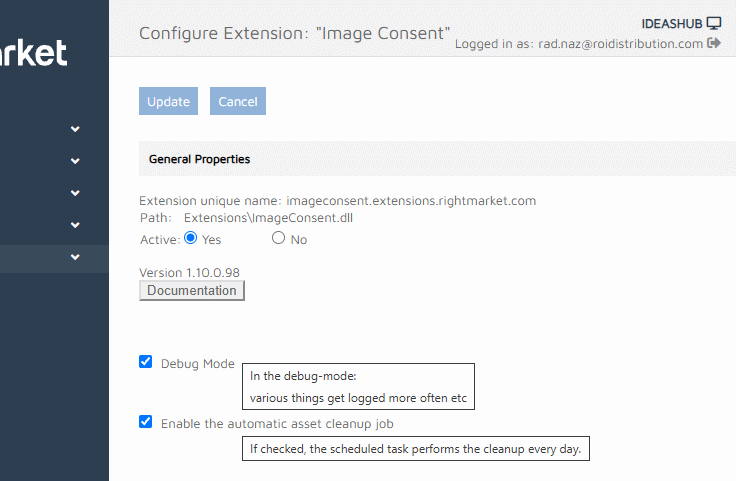
Click the Active Yes option to enable the extension and then the Update button.
Please note the Debug Mode option. Normally, it is invisible. In order to switch it on and off, hover your cursor over the Documentation button and use your browser’s right-click context-menu Inspect option. In the shown markup, below the button, find a paragraph styled display: none. Click and select it. In the right-hand pane, switch its display: none property off. Now you can see and change the Debug Mode. Don’t forget to click the top-most Update button after you’ve made your changes.
The Enable Automatic Asset Cleanup Job option is always visible. By default, it is Enabled. Turning it off will prevent the automatic cleanup of the uploaded images.
User Configuration
Not applicable.
Template Configuration
The Template’s Image Fields are configured on the Content > Templates > [select] > Steps > Customise > Edit page. An image field is configured on the right-pane. The Content Options > Enforce Minimum Image Size setting is respected by the Image Consent JavaScript and enables or disables the user image upload.
Site Options Configuration
The Administration > Site Options > File Upload > Maximum File Size per Upload setting is also respected by the Image Consent JavaScript.