Functionality
User Site
Clicking the Browse button brings up the popup-dialogue list. Depending on the Image Field configuration, the Browse From Computer button may be enabled and a user-upload allowed. If the user clicks the Browse From Computer button, they are allowed to select their own file-system image. After confirming, this dialogue is shown:
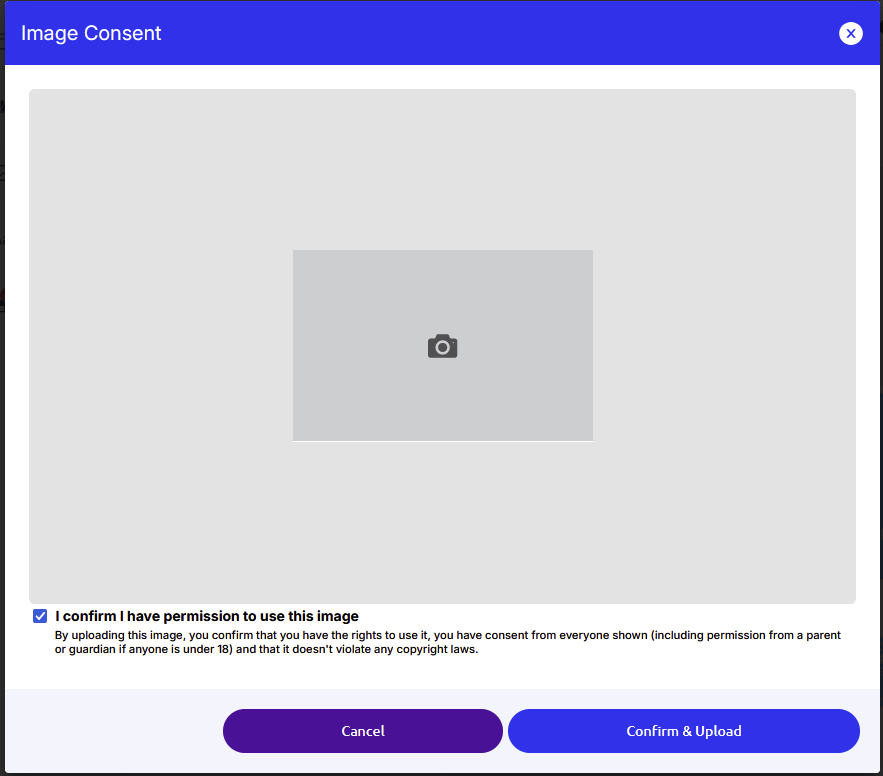
The Confirm and Upload button is enabled only if the user selects the I confirm… option. The Image Field settings can enforce a certain image size. If it is not matched, the Confirm button won’t be enabled. Please see the Setting Up chapter to be aware of the Image Field configuration.
Admin Site
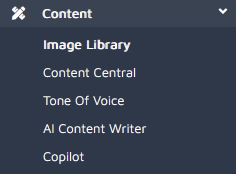
This Extension modifies the Admin Site > Content > Image Library page:
A new tab called User Images is added to the existing row of tabs:
Clicking the tab-link displays a table of user-uploaded images:
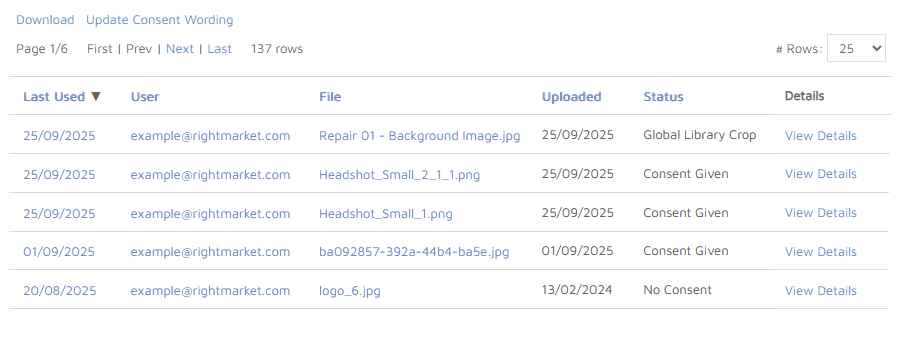
The Last Used column contains links to the last ordered or downloaded Design. Clicking the link opens a new browser window with the AdminItemDetails.aspx?docid=x page loaded.
The User column contains mailto: links. Clicking the link opens your email-client application with a new email ready to be written.
The File column contains links to a new browser window loaded with the image.
The Uploaded date refers to the actual date the image was uploaded, no matter if it was used in a Design.
The Status column can contain these values:
- No Consent - the image was uploaded without the confirmation from the user. It can either mean this extension was switched off at the time of the upload, or, the image was uploaded before this extension had been introduced.
- Consent Given - the user has checked the “I confirm…” checkbox before uploading.
- Global Library Crop - the image is a cropped version of a global image which was uploaded by the site-admin.
The Details column contains links which show the dialogue:
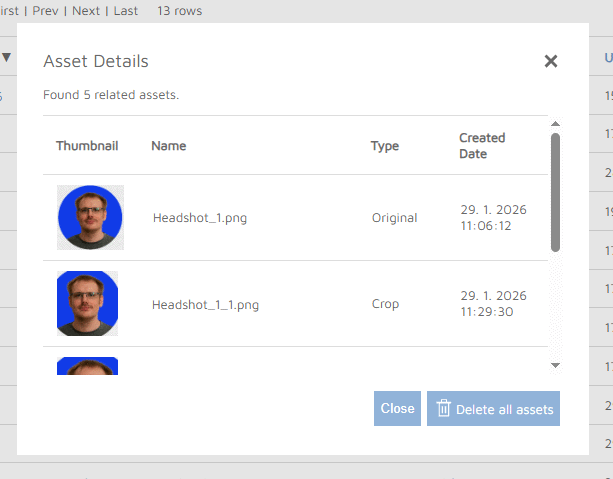
The Delete button removes all of the related images from the site.
At the top of the main page, please note the Download link which gives you the table rows formated as a CSV file ready to be opened and edited in your spreadsheet application.
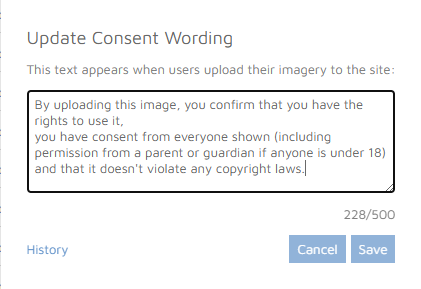
The Update Consent Wording link brings up this dialogue:
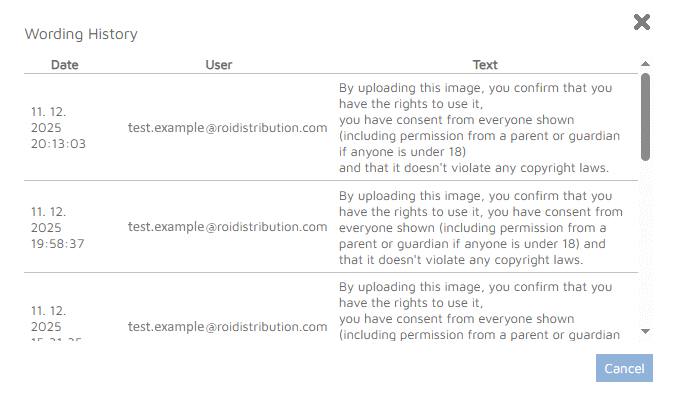
On the dialogue, clicking the History link shows the list of changes:
Cropping Images
Cropping from Design Toolbar
The user can create their own Design based on their selected Template. On the Customise Step page, for each image field configured to allow Image editing, this Extension forces a Crop button to be shown:
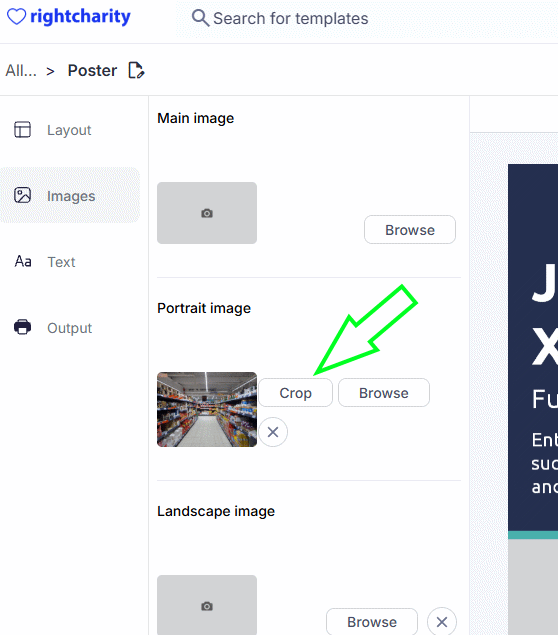
The Crop button is only available for user images and global images which have cropping enabled.
Cropping on upload
Clicking the Browse button shows the dialogue
which may contain the Browse From Computer button.
Clicking the Browse From Computer button,
confirming the consent and uploading the image makes this Extension
automatically open the Crop dialogue for image fields
configured to enable Image editing.
The user is effectively forced to
create a new image - the cropped version - of their newly uploaded image
with the need to make fewer clicks between upload and finished image.
The automatic display of the cropping dialogue
does not apply when selecting existing images.