 Documentation Summary
Managing XML Fields
Click on the menu item as specified in the ‘Admin Menu Text’ configuration field to administer the fields and properties. The XML Export administration page enables the administrator to add, edit and delete fields/properties.
Adding New Fields
When the admin page is displayed for the first time, it only contains the ‘Add Record’ button.
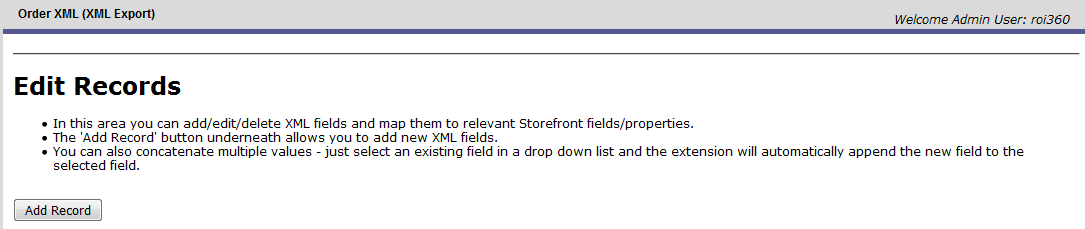
After clicking the button, the following editing screen is presented:

XML Field Name - enter the name of the field label that will be displayed in the XML file.
Combined Fields - one output XML field can consist of two or more storefront fields. This is achieved using the ‘append’ drop down control. Select one of the existing XML fields from the drop down and the values ofthe storefront field/property will be appended to it.
Storefront Field/Property Column - define the type of property or the field in storefront that will be passed to the XML file.
Date Conversion - ticking this box will convert the date the UK format. Most system dates out of storefront by default will be US dates for example 6/30/2013, ticking this box will convert the date in the XML to 30/6/2013. However if the date is a UK date in storefront and this box is ticked it will convert to US.
Standard Property
A “Standard Field/Property” is anything that is prebuilt into the deployment, such as the “OrderID”. To pull through a standard property these steps should be followed:
Enter the name of the field label that will be displayed in the XML.Select Standard Storefront Field/Property from the two radio button options, this will present a list of the available fields and properties to select from.Select the storefront property from the dropdown.If it is a date field such as Order Date/Time tick the date conversion box to change the value to UK format if required.Click Update.

Custom Property
A custom property is any field that has been added into storefront, such as a printing option. To pull through a custom property follow these steps:
Enter the name of the field label that will be displayed in the XML.Select Storefront Field/Property from the two radio button options, this will present a text field and a dropdown of field types.Enter the name of the field in storefront that the value will be passed from, in the example below the storefront variable is called ChooseLamination.Then in the type dropdown select the type of field the storefront field is. In our example this is a Printing Option field.If it is a date field such as Order Date/Time tick the date conversion box to change the value to UK format if required.Click Update

The below table explains what each of the types mean. The Pageflex Programming Reference Guide has a full list of the available properties and fields. For the values from data lists of data merge products VariableValue type should be used.
| DocumentProperty | Pageflex Programming Reference Guide has a full list of these fields, they are fields such as the description entered by the user on the finishing step of a product. |
| PrintingField | The value of that printing option field. |
| VariableValue | The value of that field from the Form Filling step. |
| OrderProperty | Pageflex Programming Reference Guide has a full list of these fields, these are fields such as the ApprovalWorkflowName. |
| OrderField | The value of that payment option field. |
| ShipmentProperty | The value of the relevant shipping property. |
| ShipmentField | The value of that shipping option field. |
| ProductProperty | The value of the product property. |
| ProductField | The value of the product metadata field. |
| UserProperty | The value of the user profile property. |
| UserField | The value of the user profile field. |
Edit and Delete Fields
Edit or delete an entry by going to the tab in the menu, this will display a list of all the fields, on the left of each row there are two buttons, ‘Edit’ will display the Editing Screen, ‘Delete’ will remove the row from the table.

Re-ordering Fields
The order of fields in the table determine the order of those fields in the output XML file. To change the order there is the ‘Order’ column with up and down arrow icons. Clicking on these icons moves the field up or down.